
Homemade Fettuccini
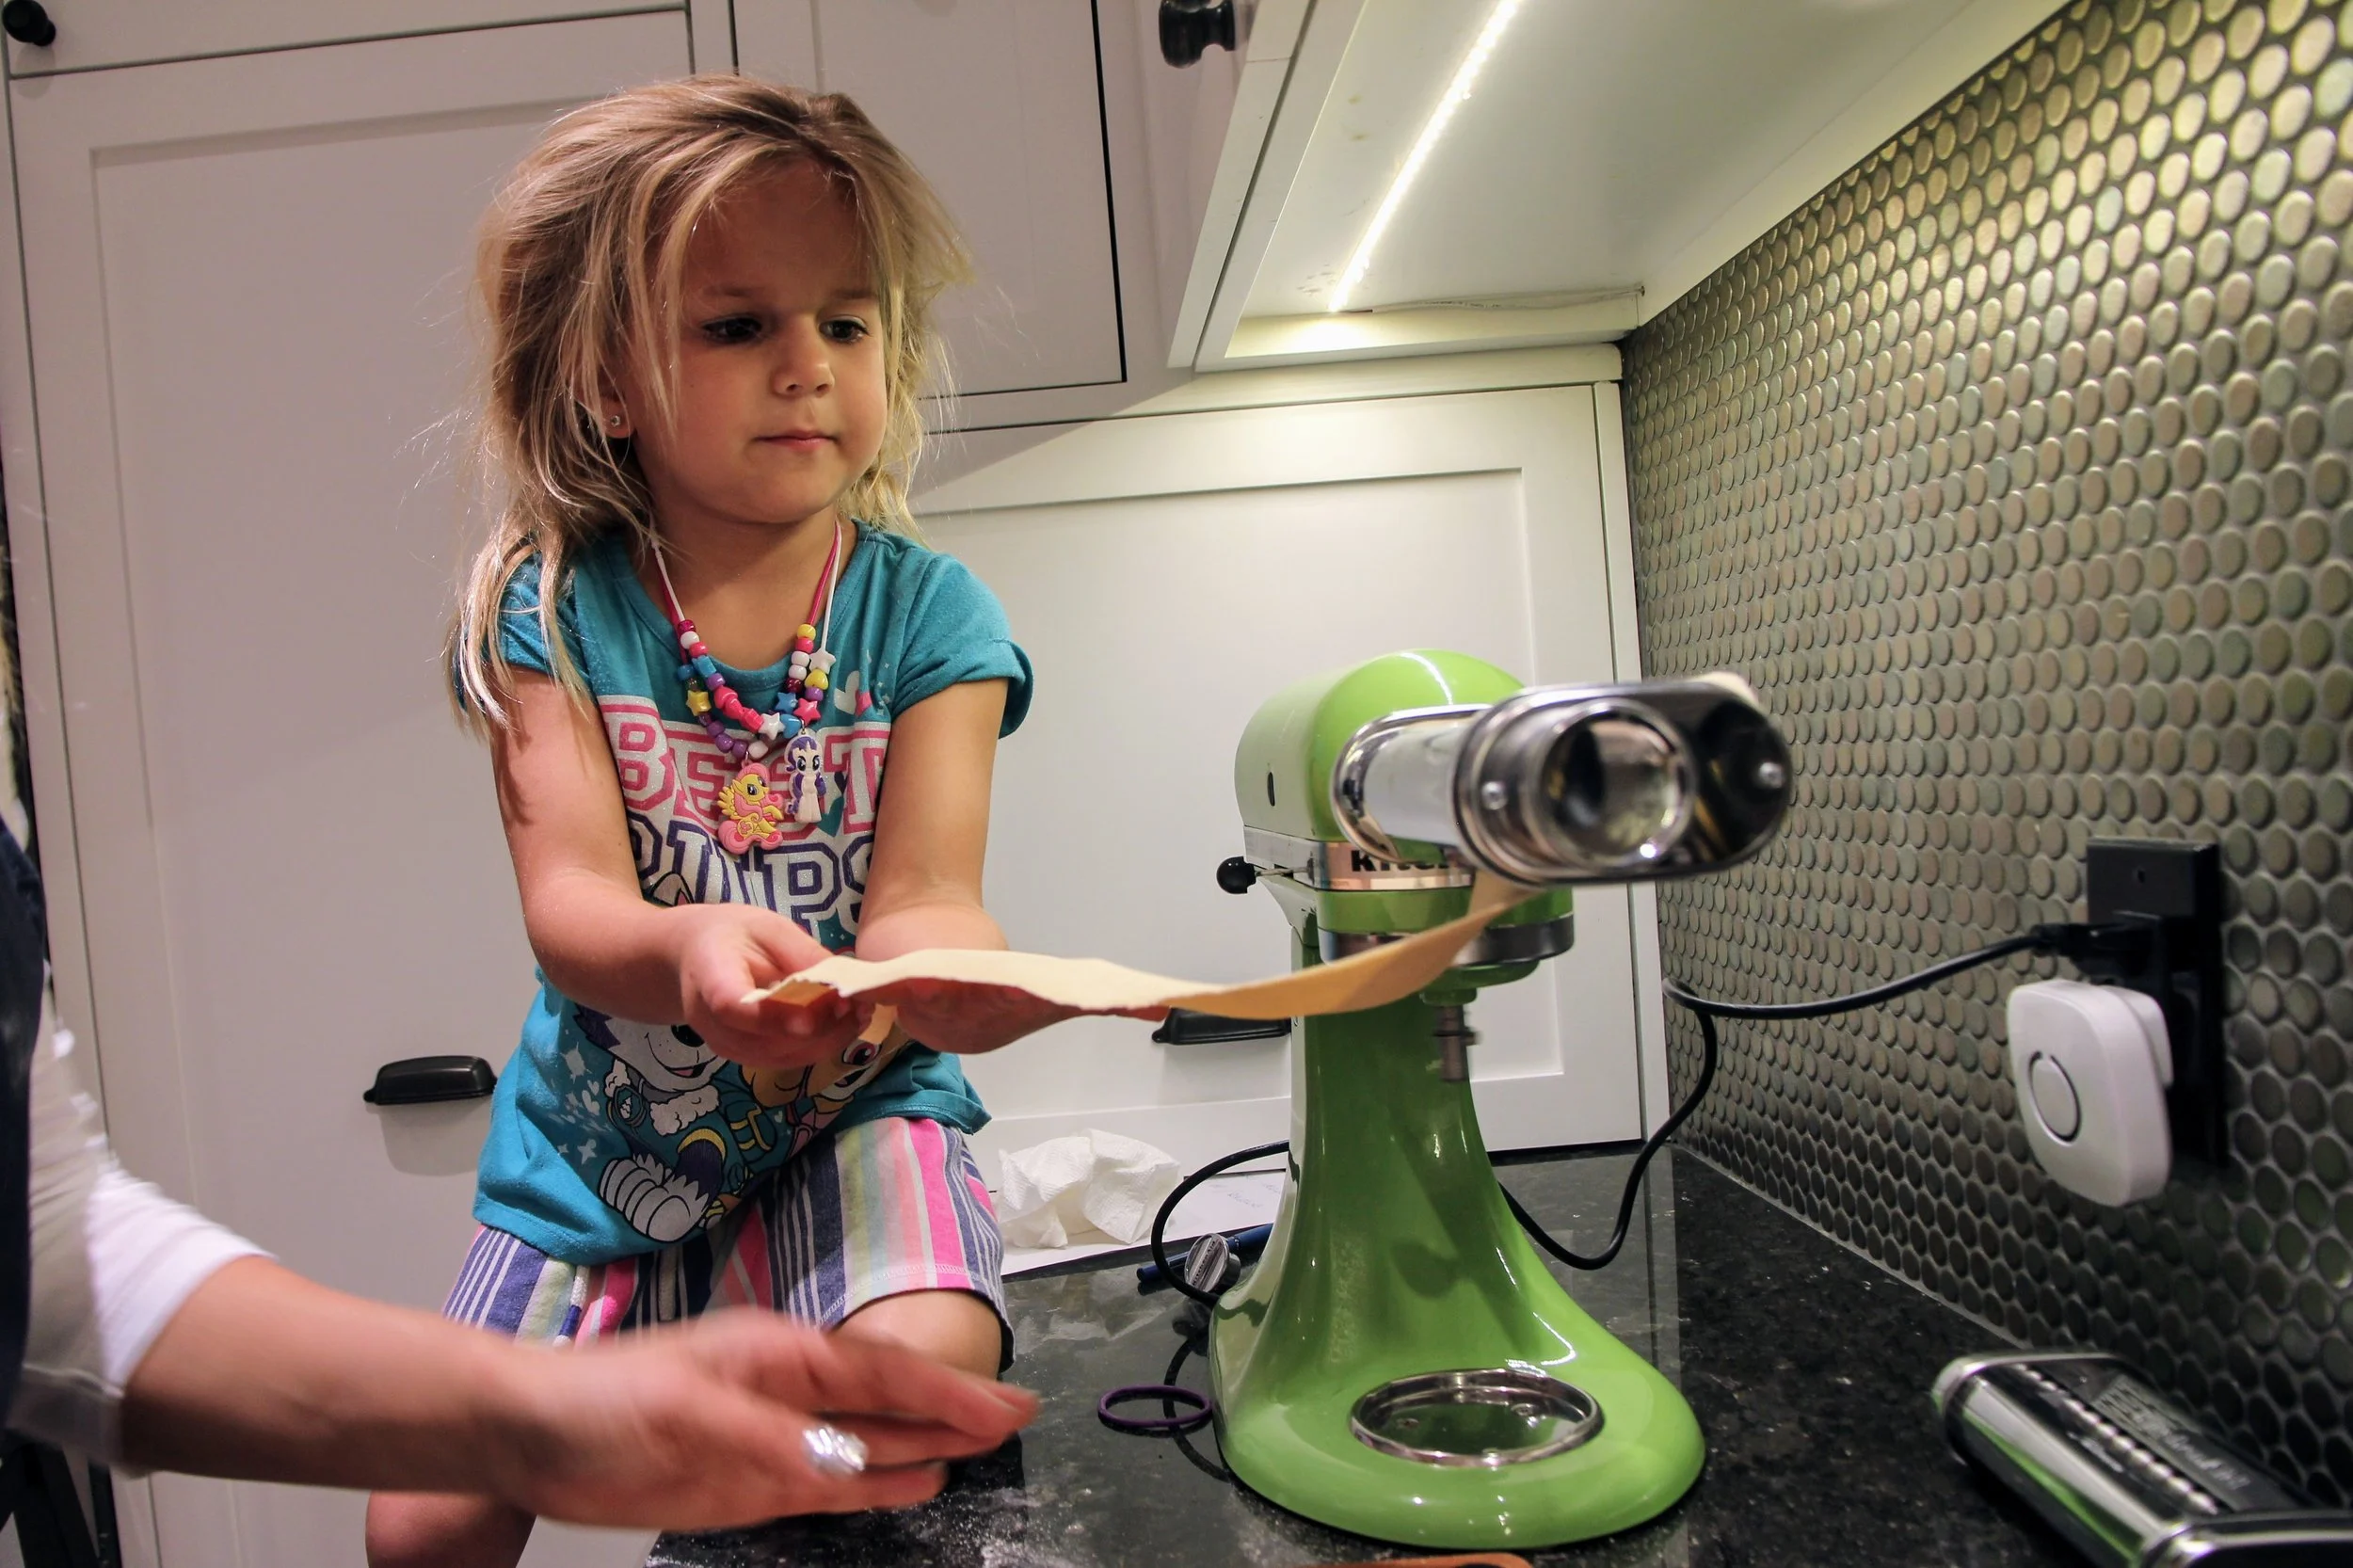
My husband gave me a pasta roller set for Christmas. It’s something I have been eyeing up for a long time and have been so excited to use it. It took a few days of entertaining and eating leftovers, but this evening while the boys were watching tv, my daughter and I made some fettuccine.
I have made pasta before. but with eggs and oil, so coming at this from a WFPB angle was new for me. As usual, I started with a google search for vegan pasta dough and found lots of varying recipes – most with oil, some with semolina flour, some with whole wheat flour, some with white flour…. so in the end, I just went my own way, with a whole wheat heavy flour blend and of course no oil, no salt, no eggs!
It came together with remarkable ease, although I used more water than most of the recipes had said I would need for this amount of flour – about 1 1/4 cups instead of around 3/4s. I’m not sure why this was – perhaps my semolina to whole wheat flour ratio made a difference, or perhaps using whole wheat instead of regular flour requires more water?
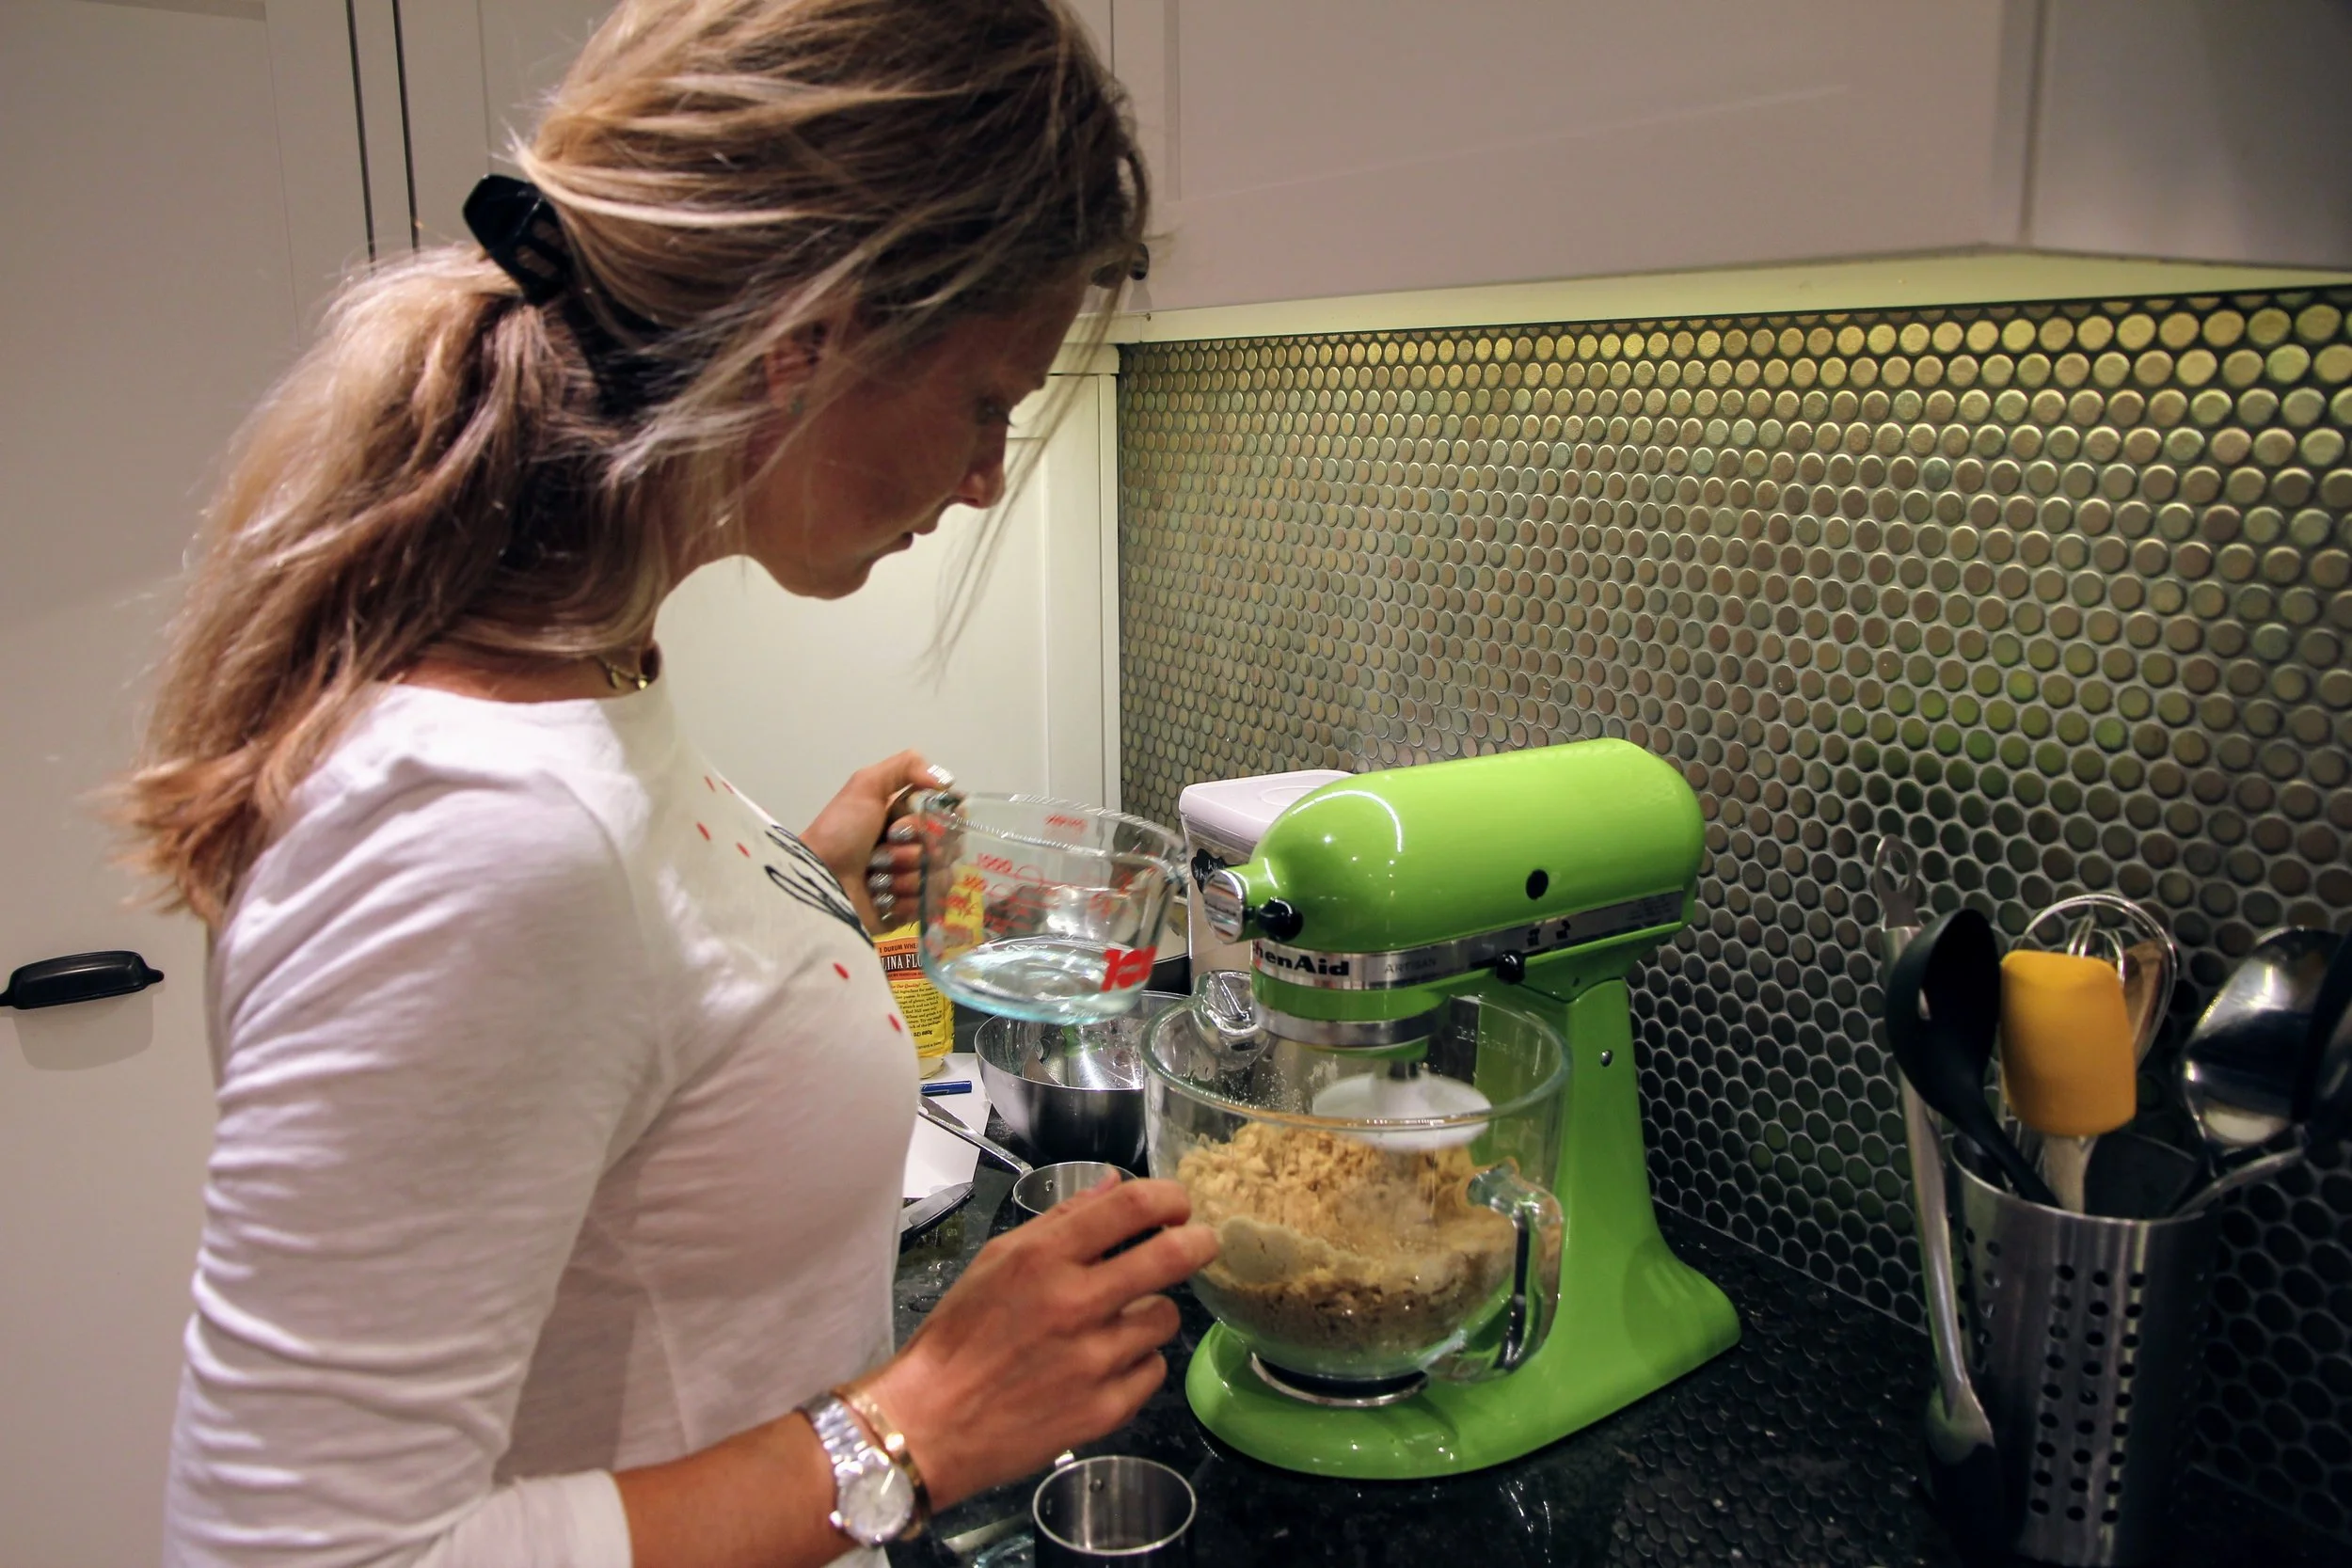
In any case, the trick is to keep adding water slowly while the dough hook turns until it starts to come together. I was quite paranoid that I’d make it too wet, so I stopped frequently to pinch it together to see if it would stick and scrape the sides down to make sure that everything was evenly incorporated.
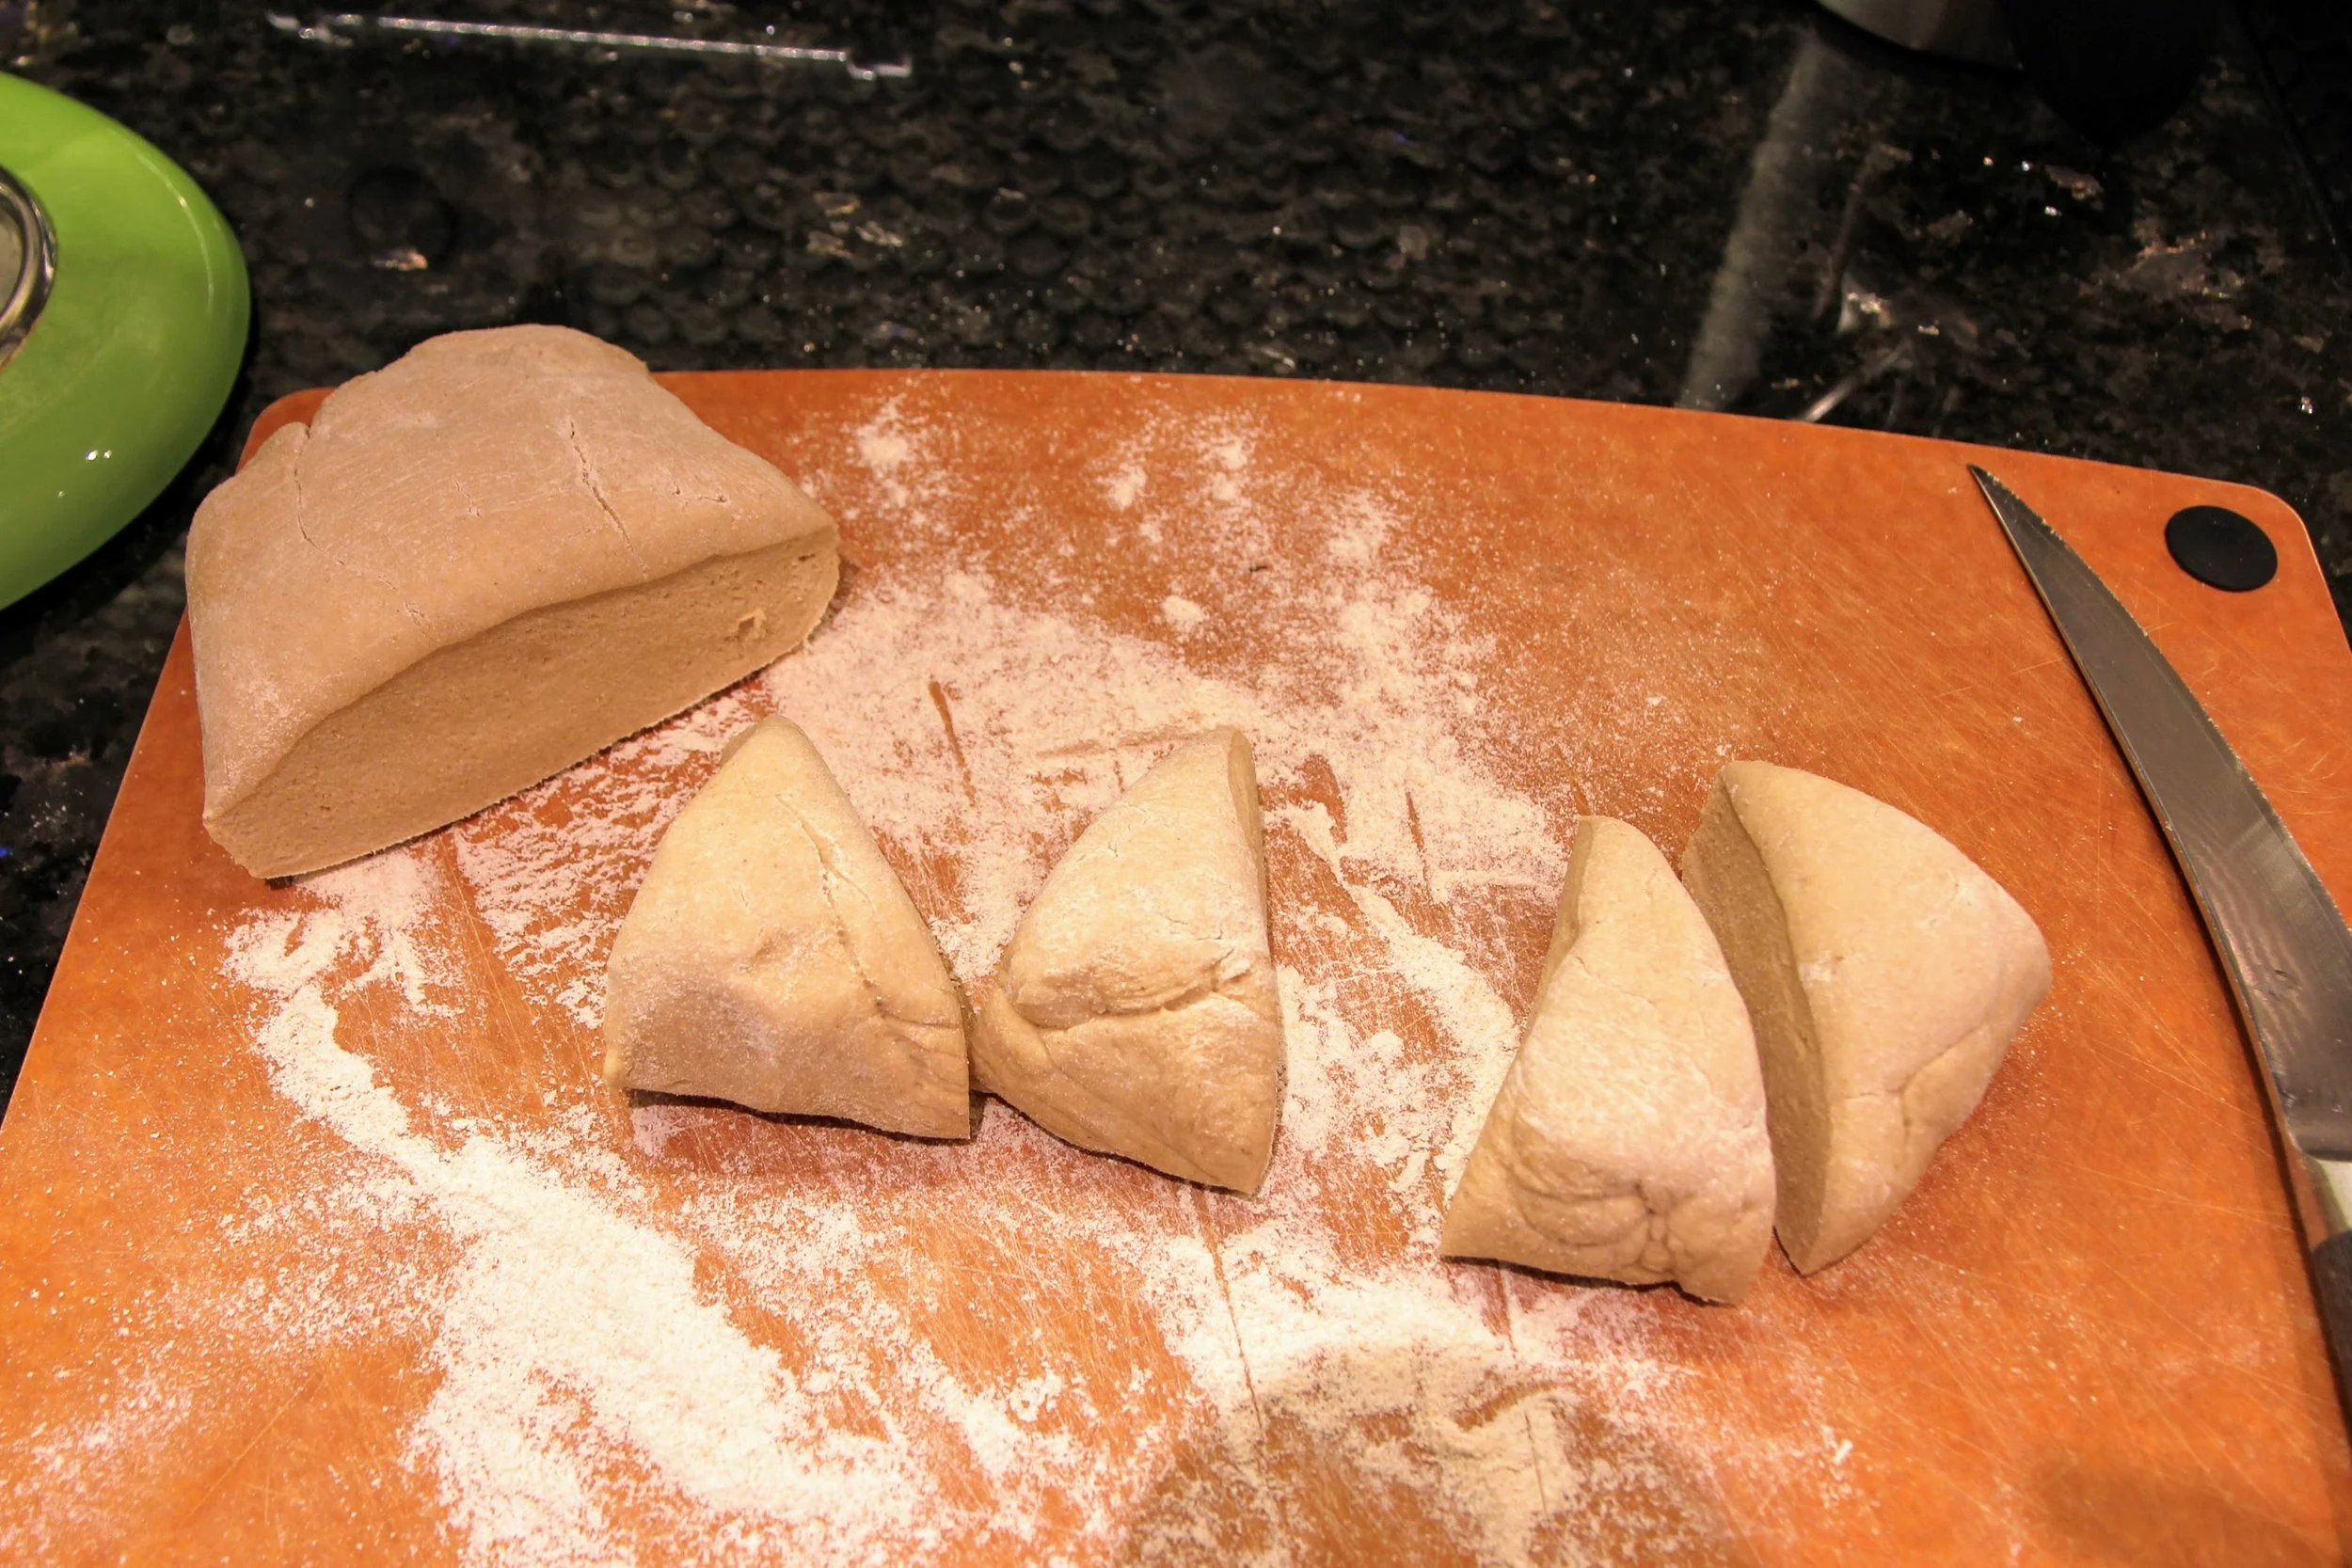
Once I had a nice ball of dough, I wrapped it in cling film and let it rest on the counter at room temperature for about 20 minutes. I planned to use it right away, but it can keep in the fridge for a few days if you are organized and want to make it ahead of time. I’m chronically disorganized – and intend to work on this in 2018, starting with honing my meal prep and menu planning skills!
I divided the dough into 8 sections and then proceeded to feed them through the rollers, starting with three runs through the widest setting (#1 on my roller) and once on each subsequent setting. I was amazed how much dusting flour i used – it got everywhere, but it kept the dough strong and un-sticky, so the mess was worthwhile. My roller goes to a very thin #8, but that felt rather fragile so I stopped at #6.
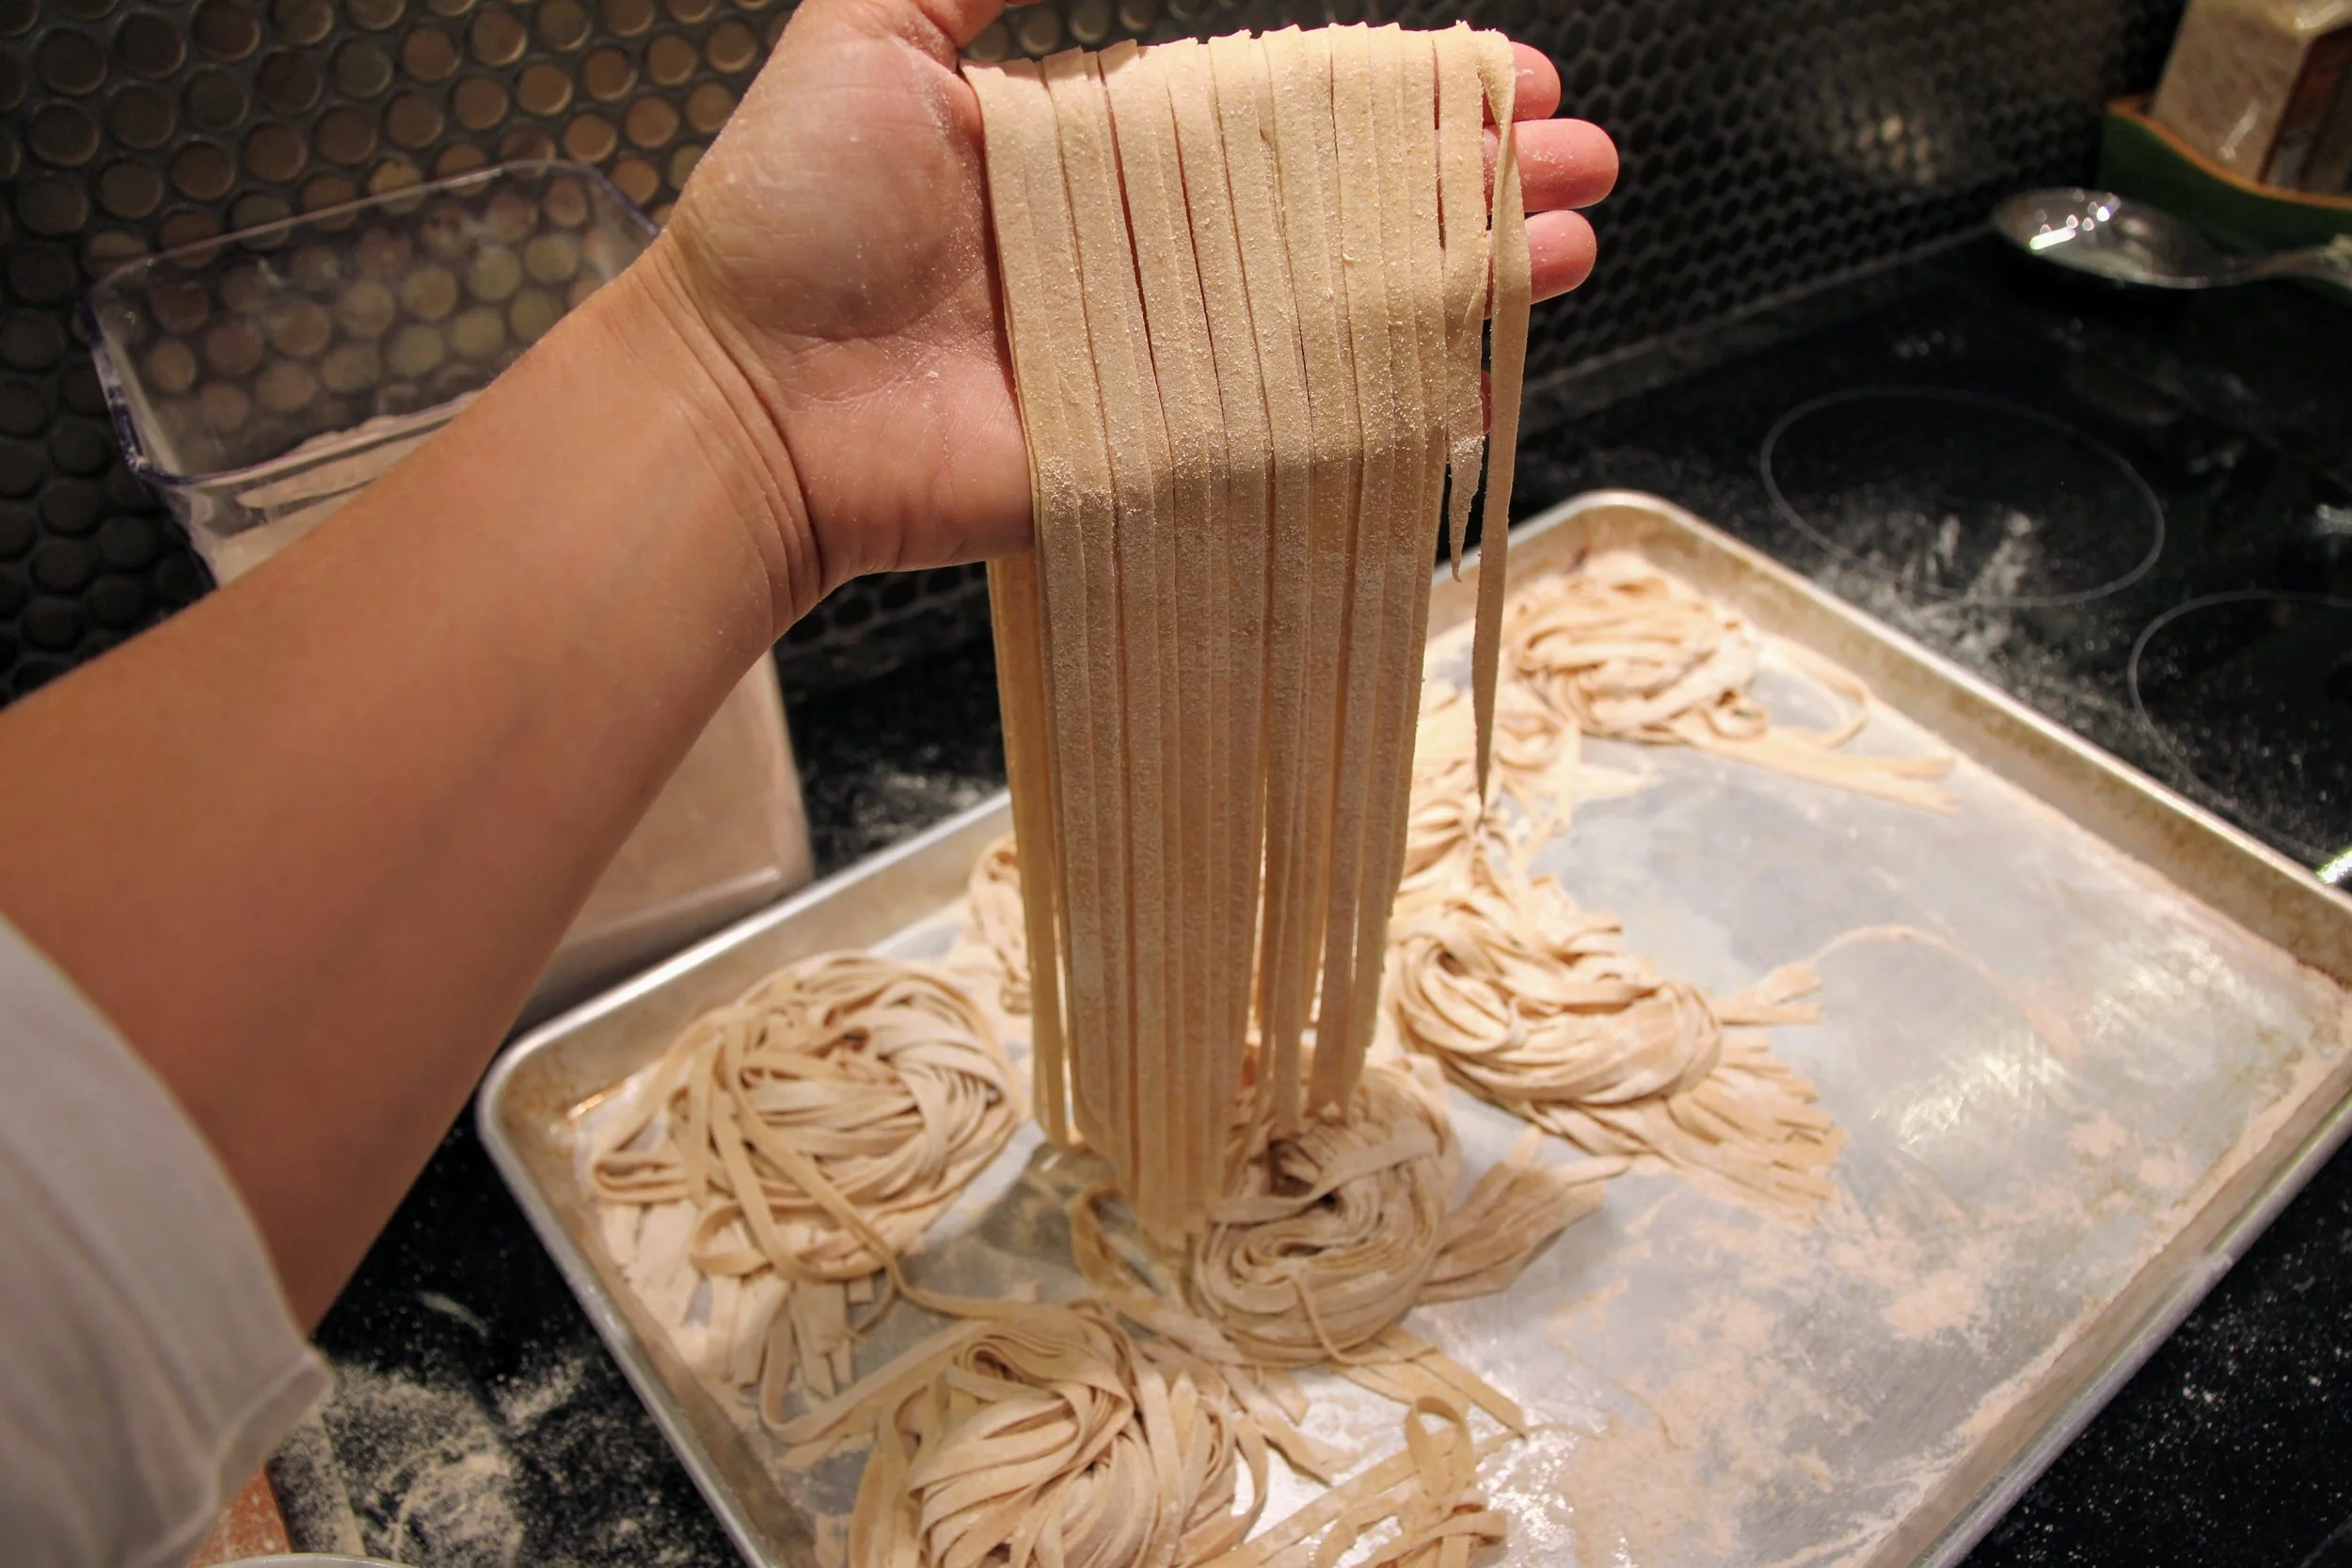
I rolled each little lump into a nice long sheet until they were done. I dusted them with flour before laying them on a big cookie sheet until they were all done. Once I had eight even rolled sheets, I switched out the roller for the fettuccine cutter and started the process again. When the strands were cut, I again dusted them and laid them in little nests on the flour-y baking sheet. I let them rest for a few minutes, while I cleaned up the flour from every surface in my kitchen and started making the sauce.
For the sauce, I took 5 roasted garlic cloves from the freezer and defrosted them in the pan with enough water so that they didn’t burn. I mashed them in to a smooth paste, added about 5tbsp cashew ‘cheese’, the juice and zest of a lemon, and enough vegetable broth to make the consistency more akin to a sauce than a spread.
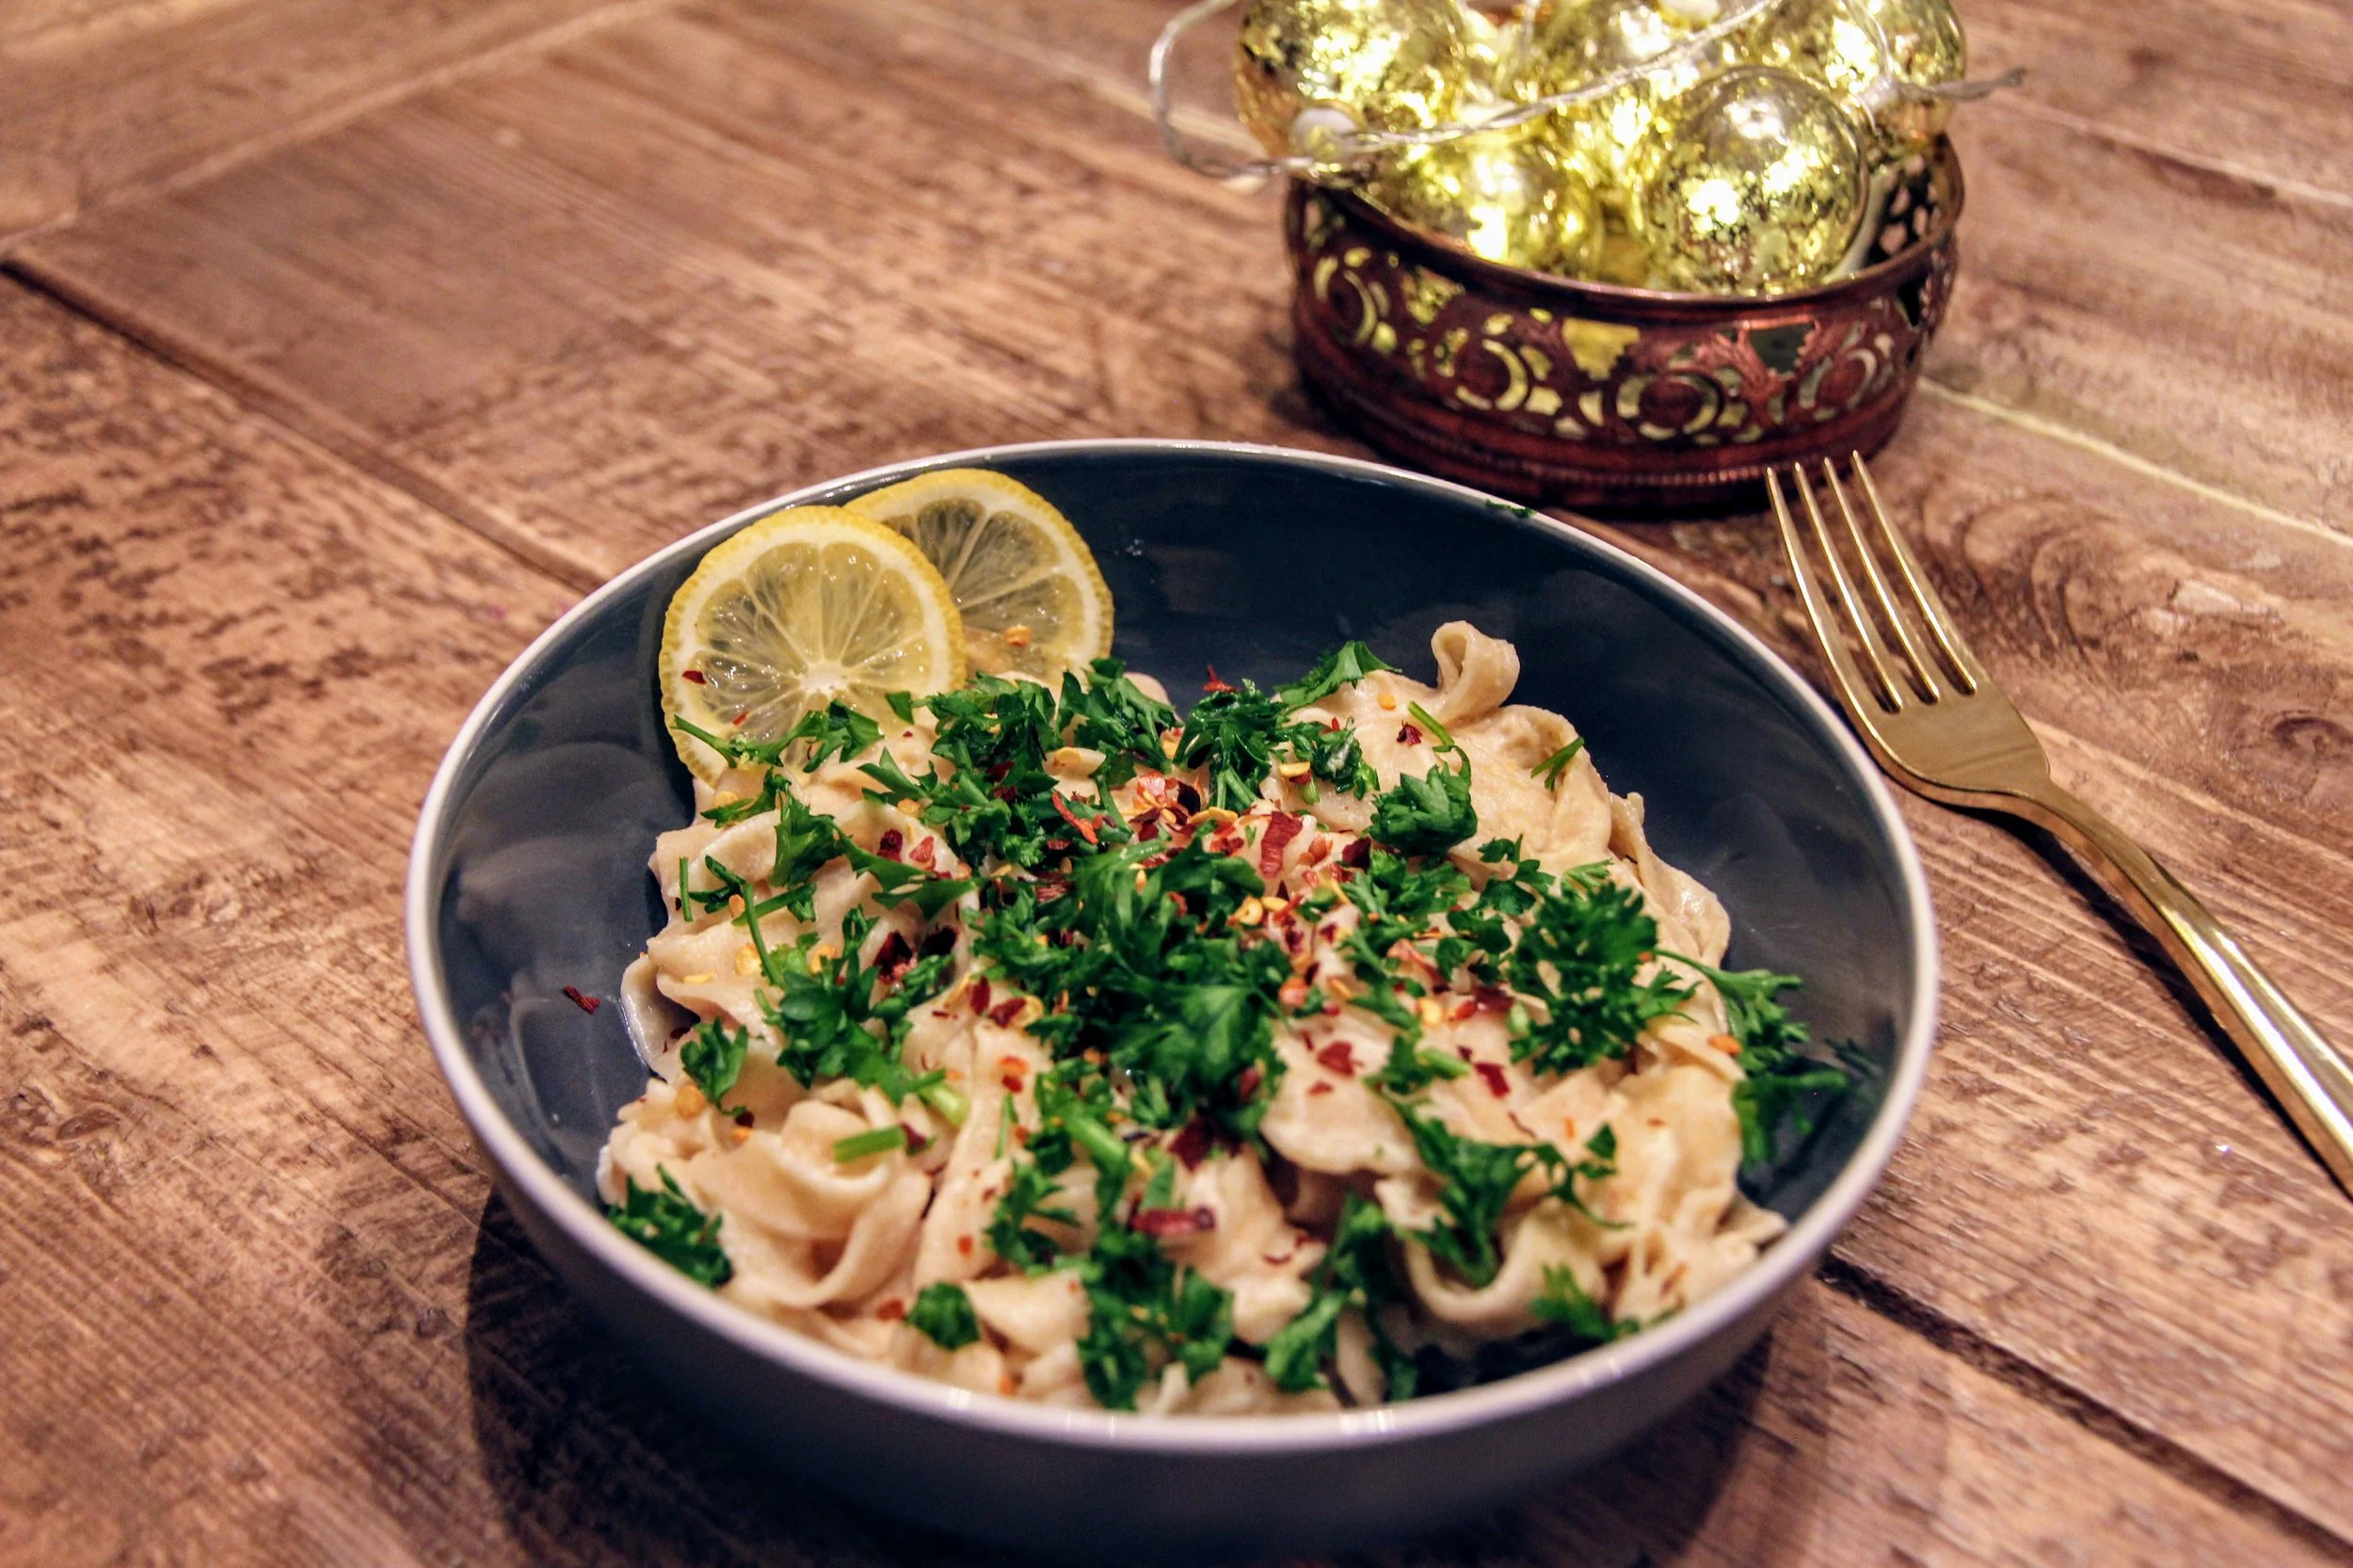
Once the fettuccine was cooked, I drained it and tossed with the sauce and topped with a generous handful of parsley (never too much!). I also added some red pepper flakes to mine too for good measure. It was zingy and creamy and something I’ll definitely be repeating.

Homemade Fettuccini
Hearty and healthy and above all fun to make. This recipe uses no oil, no salt and no eggs, but still has a perfect texture and makes an excellent base for any kind of pasta sauce.
Ingredients
Instructions
- Place the flours in the mixer with the dough hook attachment. Start the mixer to blend together well. If you want to add salt to the recipe, do it now while everything is dry
- With the mixer running, start by drizzling water in very slowly. It is a good idea to stop the motor periodically and scrape down the sides and the hook itself to ensure that everything incorporates evenly
- When you have added 3/4 cup stop the mixer and pinch some dough together to see if it sticks. If it does not, restart the mixer and continue to add water, still nice and slowly.
- When the lumps in the mixer bowl get larger and start to appear wetter and less breadcrumb-y, check again if it holds together when pinched. If it does you are almost there - keep the mixer turning until one large smooth ball of dough forms
- Now, keep the mixer going for an additional 6-10 minutes to knead the dough. If you want to do this by hand, by all means, take it out of the bowl and knead on a smooth floured surface. This process activates the gluten which gives the pasta it's delicious elasticity.
- Cover your well kneaded ball of dough with plastic wrap and either store in the fridge for a few days until ready to use, or leave at room temperature for 20 minutes until ready to roll and cut
- Start by diving your dough in to 8 even pieces.
- Feed through the rollers on the widest setting, dusting with additional flour as necessary. You want it to not stick to anything, but equally not be so dry that it starts to crack and fall apart.
- Once you have reached the desired thickness, dust again with flour and set aside until all the dough is rolled
- Change out the attachment for a cutter and proceed to cut your pasta. Unless you are making lasagne or ravioli, use the sheets for this instead.
- If you plan to use immediately, get a large pan with ample water on a rolling boil and place the pasta in - I wiggled it a bit as I put it in the pan so that it wouldn't stick.
- The pasta is cooked with it rises to the top. It will happen fast - about 2-4 minutes depending on the thickness of your pasta
Things to be mindful of
- Rolling the pasta too thin
- Dusting off as much flour as possible before submerging in water to avoid making the water gluey
- Overcrowding the water pan - the pasta needs room to move while it cooks
- Overcooking the pasta - fresh pasta cooks much faster than dried or store bought, so watch it very carefully